Apartment living, I've come to find out, means that you need to be a bit more creative about bringing in some color. Considering we are not allowed to paint (white walls anyone?), any color must be brought in through decor. I saw a pin floating around on Pinterest, which led me to Creative Carmella: Toilet Paper Roll Painting....A DIY project. This inspired me to try some painting!
Supplies:
1. Burlap in the color of your choice (I used about a yard)
2. Paint in the color of your choice
3. Foam Brush
4. Wood Boards - in the quantity that you want (I had three)
5. Masking tape
6. Something round you don't mind getting paint on (I used circles, but feel free to use any shape!)
7. String or hanging wire
8. Staples and Staple Gun
I wanted a circle a little larger than a toilet paper roll, so I had my husband dig around in the garage and he found a thick cardboard circle - some sort of tape roll.
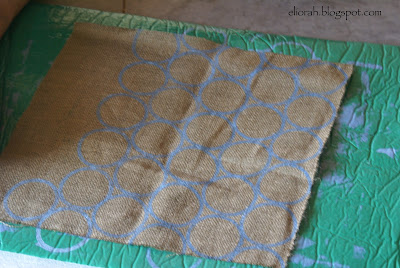
I cut each piece of burlap to the size of the wood board, with about an inch thickness extra around so I could later staple it to the board. The circle piece was easy, but time consuming. All I did was paint the circle using the foam brush and then press the circle down on the burlap.
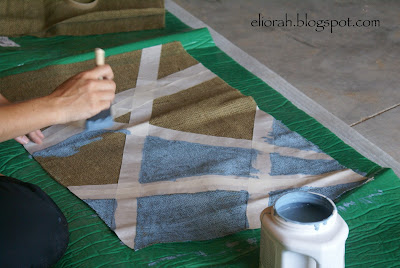
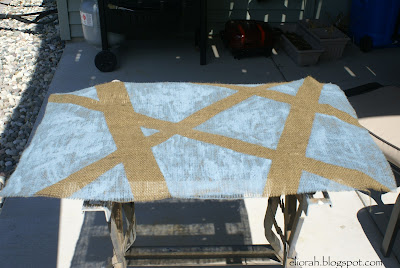
For the other piece, I used masking tape to make a design on the burlap and using the foam brush, painted directly on the burlap.
As I finished each piece, I allowed it to air dry in the sun.
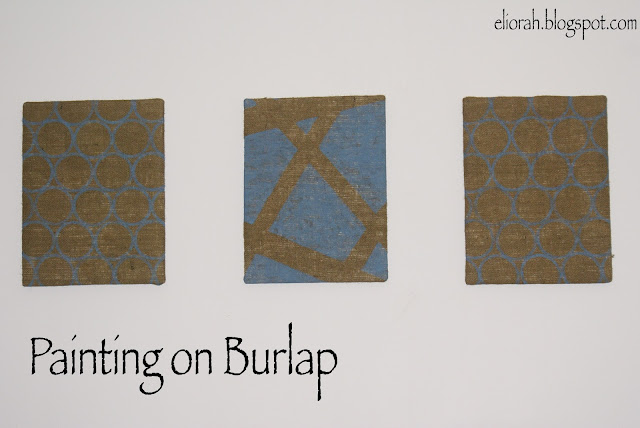
After the pieces were dry, I just wrapped each board with the burlap and stapled it down. I also added a hanging string to the back of the board so that I could hang them on the wall. Pretty easy and quick (about 3 hours in all) and I now have some color on my wall!
This post was shared at:


This is such a great idea for making decorations at a low cost! Thanks for linking up to Frugal Crafty Home!
Trả lờiXóaI love this! Cute!
Trả lờiXóa