When my husband and I sat down and started planning for our wedding, we decided that we wanted to have a low-budget wedding. I've always loved making things, so many of the details involved in the wedding were homemade.This week I am going to share with you what we did for our Save the Dates, Bridal Shower Invitations and Thank You notes, Wedding Invitations and Thank You notes.
Save the Date
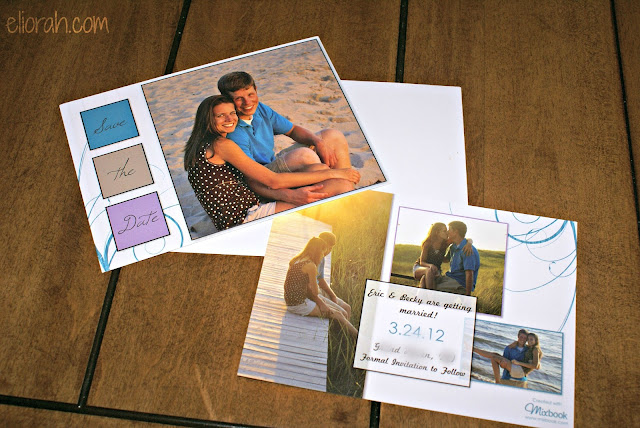
For our Save the Dates, I had come across a Groupon to Mixbook. The deal was $15 for $50 worth of cards. I purchased two of these deals & only spent $20 because I had $10 in Groupon Bucks. I really enjoyed using Mixbook because I was able to personalize everything - text, colors, number of photos - and really make them look how I wanted them to. And to top it off, my amazing sister-in-law took the photos for us, so that didn't cost us a thing!
Wedding Shower Invitation & Thank You Notes
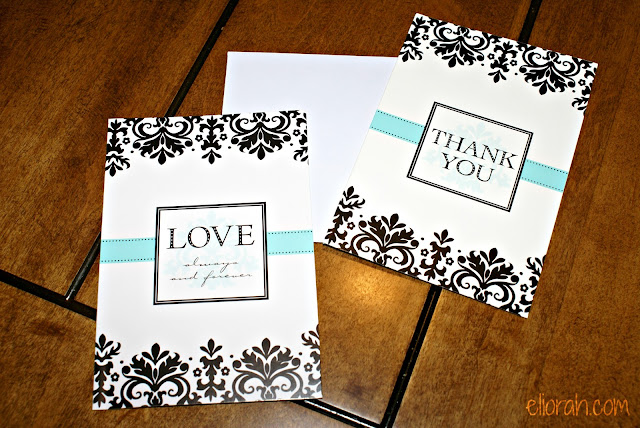
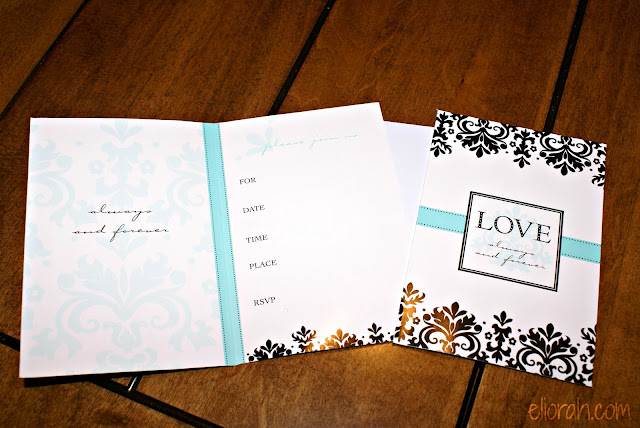
My mom and sisters picked out these beautiful Wedding Shower Invitations and matching Thank You notes. They found these at a Party Store and were able to find a couple more matching items to tie everything together for the Wedding Shower. I love that the Thank You notes matched the Invitation!
Wedding Invitation
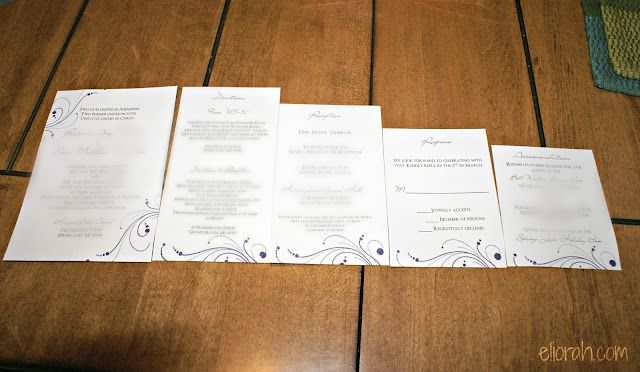
I knew that I wanted a PocketFold invitation because at least 80% of our guests would be coming from out-of-town, so I would need to include a lot of information in the invitation. I found my PocketFolds from Cards & Pockets. This exact one was the Signature PocketFold in Dark Grey. I ordered 150 of these for $103.50 ($0.69 each). I also ordered the matching A7 envelope ($0.21 each; $31.50 total) and RSVP envelope ($0.14 each; $21.00 total). I loved the PocketFolds, but probably wouldn't recommend the envelopes. The 'glue' they use to close the envelopes did not stick at all. I ended up using a glue stick to close the invitation envelopes, and many of the RSVPs I received were taped shut because of the same problem. I used a white gel pen to address the invitations.
I used a light grey cardstock from Staples. I set up a template on my computer (MacBook Pro) using Word (2008 version I believe). I was able to print all of the inserts on my home printer & cut them using a paper cutter.
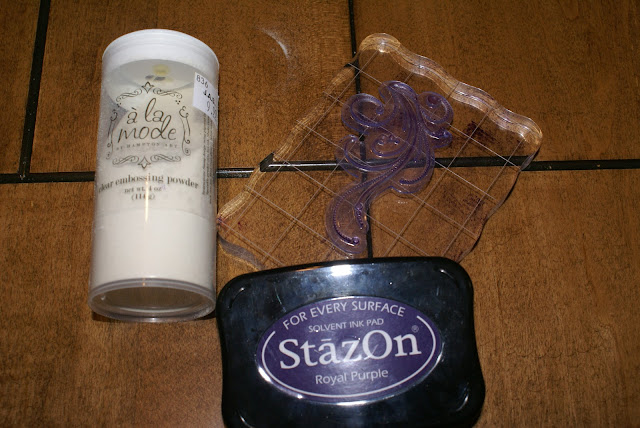
I embossed a design using a stamp and heat gun I found at Hobby Lobby on sale. I also used StazOn ink in Royal Purple and a la mode clear embossing powder. All stamping items were on sale (50% off) so I was able to get a great deal on all of the supplies.
Luckily, I had help from my mom, sisters, and friends, otherwise this would have taken a lot of time! We were able to get these completed in two weekends (including addressing them)!
Thank You Notes
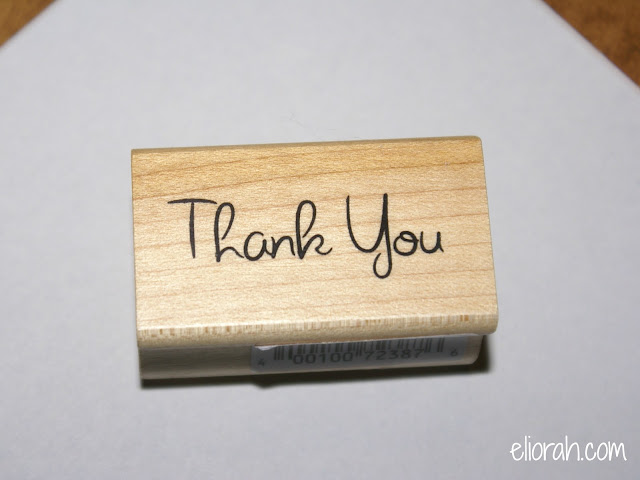
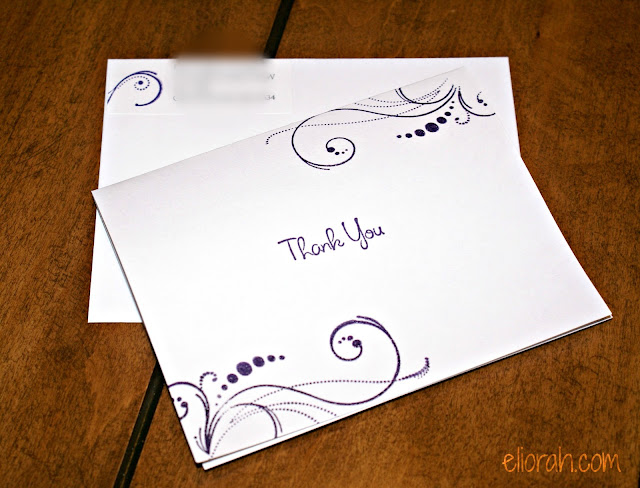
I made matching Thank You notes using the same embossing technique and stamp as the wedding invitations. I found the Thank You stamp at JoAnn Fabrics & Crafts also on sale. I found the blank cards and envelopes in a package deal at Hobby Lobby. As you can see below, I also embossed the mailing label (this was done for the wedding invitation too).
And there you have it! I was able to save tons of money in making my wedding invitations & thank you notes, and even in ordering my save the dates. I love how everything turned out!
What DIY projects did you do for your wedding?
Next week, join me in looking back on the details of my Rehearsal Dinner!
Missed a part of the series? Catch up here!
This post has been shared at:

All of your wedding stationary is beautiful! I got married almost 11 years ago when picture invitations weren't really available. I would have LOVED to do picture invitations just like yours! Thanks for linking this up!
Trả lờiXóa